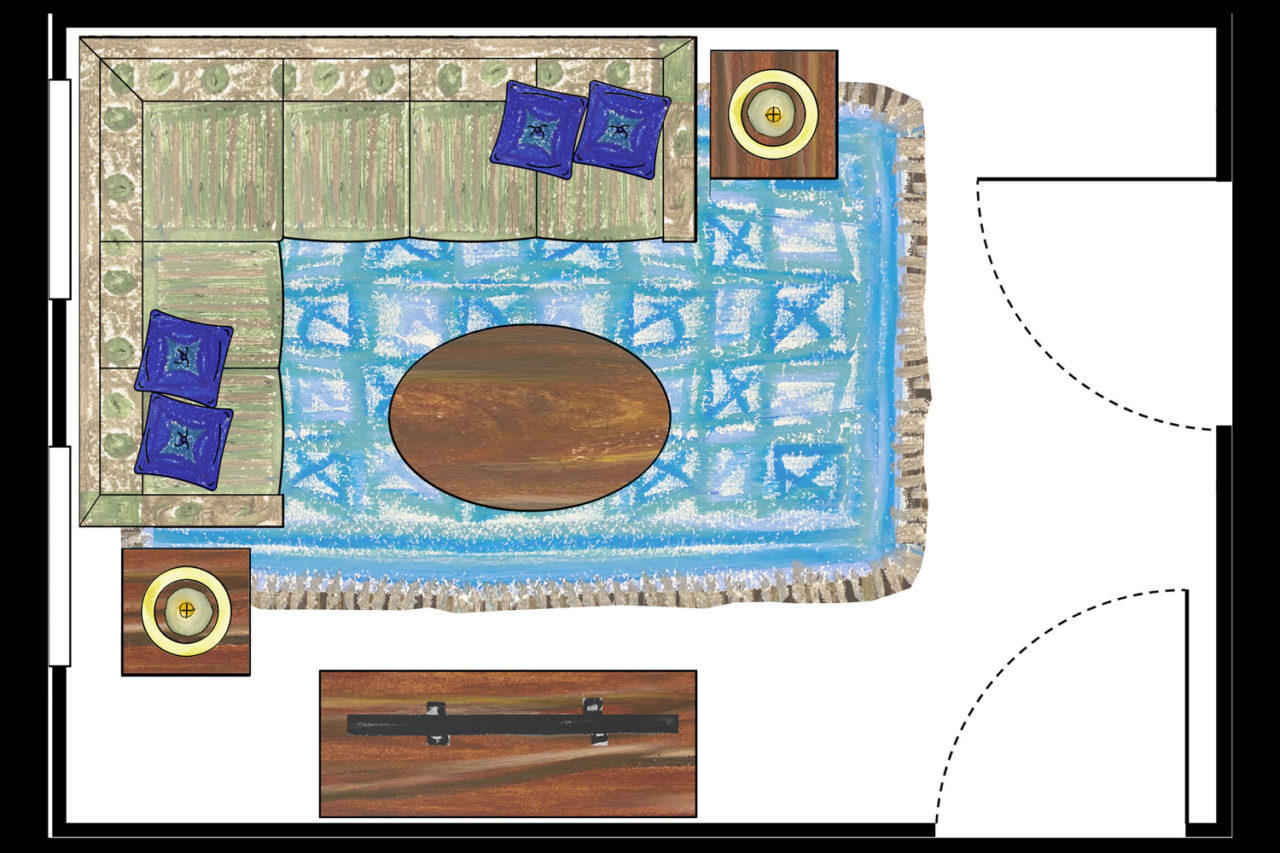
Ready for a change? Try redesigning a room at home by creating a measured floor plan drawing and scale furniture to test out your ideas. You will need your ½” = 1’ scale ruler from the Scale Measurement activity and your room sketch from the Floor Plan activity to start.
Follow the steps below to convert your room sketch to a measured floor plan at ½” = 1’ scale. Test out a new design for this space using our ½” scale furniture templates or create your own. Use this activity as inspiration to draw a floor plan for a new space and add furniture to make it your own!
Materials: Pencil, paper, tape measure or ruler, floor plan sketch, scale ruler or grid paper, scissors tape, colored pencils or crayons.
Step 1: Add dimensions to your floor plan sketch by measuring the walls, windows, and doors in that room with a tape measure or ruler. Round all dimensions to the nearest half foot and write these measurements on your sketch. Watch a how-to video here:
Step 2: Redraw your floor plan at ½” = 1’ scale using these dimensions and our grid paper or your scale ruler to shrink them down to the right size. Watch a how-to video here:
Step 3: Print our ½” scale furniture templates or create your own by measuring your furniture and drawing the different pieces to scale from an overhead view.
Step 4: Cut out the pieces you want to use and try out different arrangements on your floor plan to test a few different designs. When you have a design you like, trace or tape the furniture in place and share your ideas with an adult for feedback.
Step 5: Share your designs on Instagram! Tag @centerforarch.
